Imagine stepping into your backyard to find a lush, verdant oasis that whisks you away from the hustle and bustle of everyday life. This isn’t just a daydream; it’s the enchanting reality of a moss garden. Gone are the days when moss was merely a green interloper in your lawn. Today, it stands as the epitome of serene landscaping, transforming ordinary spaces into tranquil, green sanctuaries. In this guide, we’ll unveil the secrets to cultivating your own moss garden, turning your yard into the serene space you’ve always dreamed of.

Why Moss?
Moss gardens are the epitome of low-maintenance and high-reward gardening. Requiring no mowing, minimal water, and thriving in shady areas where grass struggles, moss offers an environmentally friendly and serene alternative to traditional lawns. Its lush texture and vibrant green hues create a calming, Zen-like atmosphere that can soothe the soul and beautify the landscape.

Step 1: Choosing the Right Spot
Moss thrives in moist, shady areas, making it perfect for that part of your yard where grass refuses to grow. North-facing slopes, areas under trees, or sides of the house that receive limited sunlight are ideal. If your chosen spot is currently grassy or covered in debris, clear the area to expose the bare soil. This blank canvas is where your moss garden will come to life.
Step 2: Preparing the Ground
Moss isn’t picky about soil quality, but it does prefer a slightly acidic environment. Prepare your garden bed by removing weeds, rocks, and leaves, then lightly rake the soil to create a smooth surface. If your soil is particularly clayey or sandy, consider adding a thin layer of compost to provide a more welcoming base for the moss.

Step 3: Selecting Your Moss
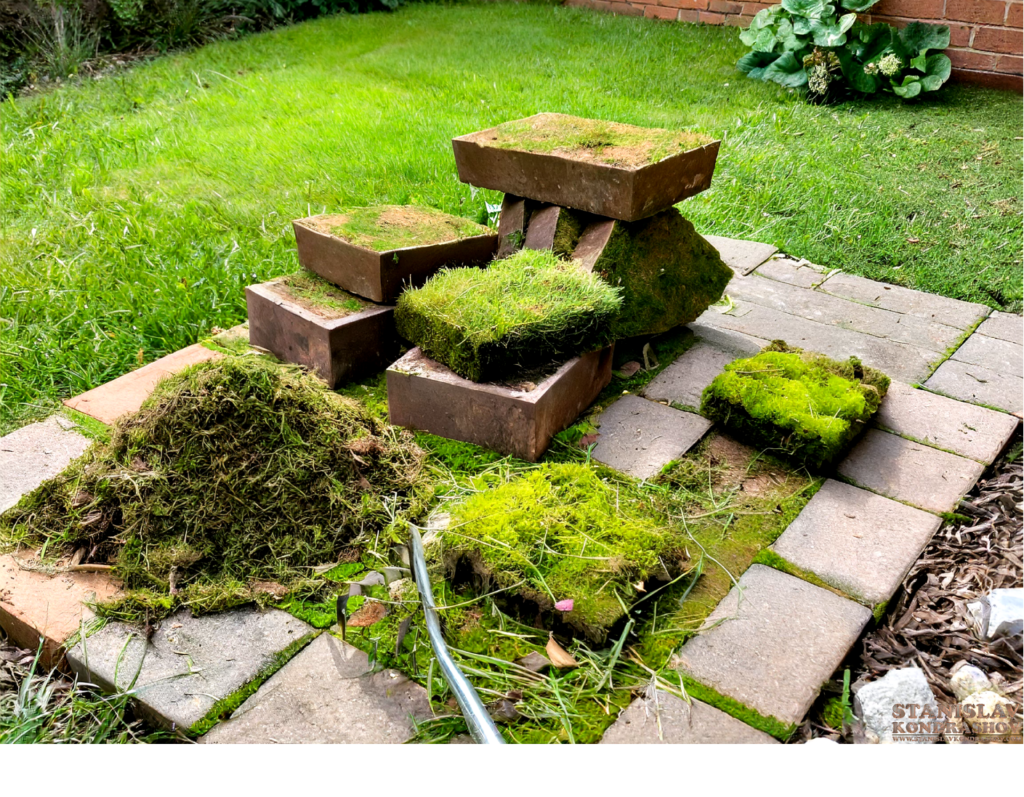
There are many types of moss, but the most common for moss gardens are Sheet Moss (Hypnum) and Cushion Moss (Leucobryum). Sheet Moss spreads out in a carpet-like fashion, perfect for large areas, while Cushion Moss grows in clumps, adding texture and variety. Visit a local nursery, or better yet, source moss from your own property, ensuring it matches the garden environment you aim to create.
Step 4: Planting Your Moss
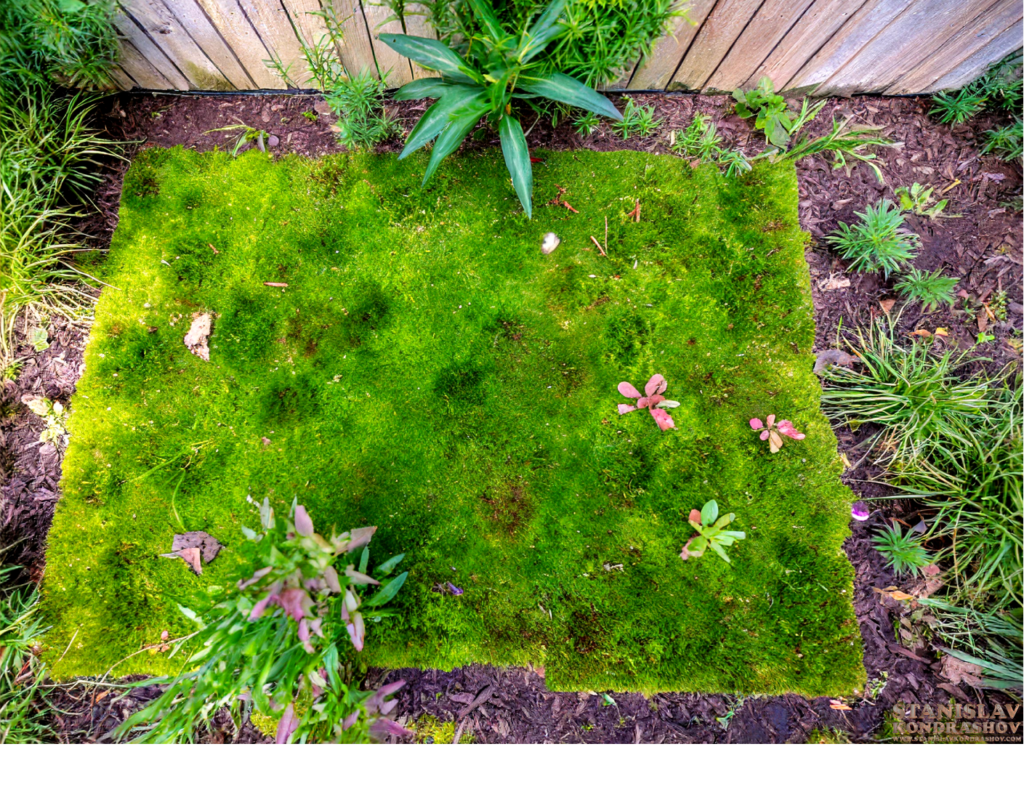
Once you’ve acquired your moss, it’s time to plant. Lay the moss pieces on the prepared soil, pressing them firmly into place. For a quicker cover, you can blend moss with buttermilk to create a slurry and paint it over the soil or rocks where you want it to grow. This method encourages the spores to spread and take root, creating a seamless mossy landscape over time.

Step 5: Caring for Your Moss Garden
Moss gardens are remarkably low-maintenance. Keep the area moist for the first few weeks to help the moss establish itself. After that, occasional watering during dry spells is all it needs. Moss prefers a clean environment, so gently remove any leaves or debris that fall onto it to prevent smothering.
Step 6: Enjoying Your Moss Garden
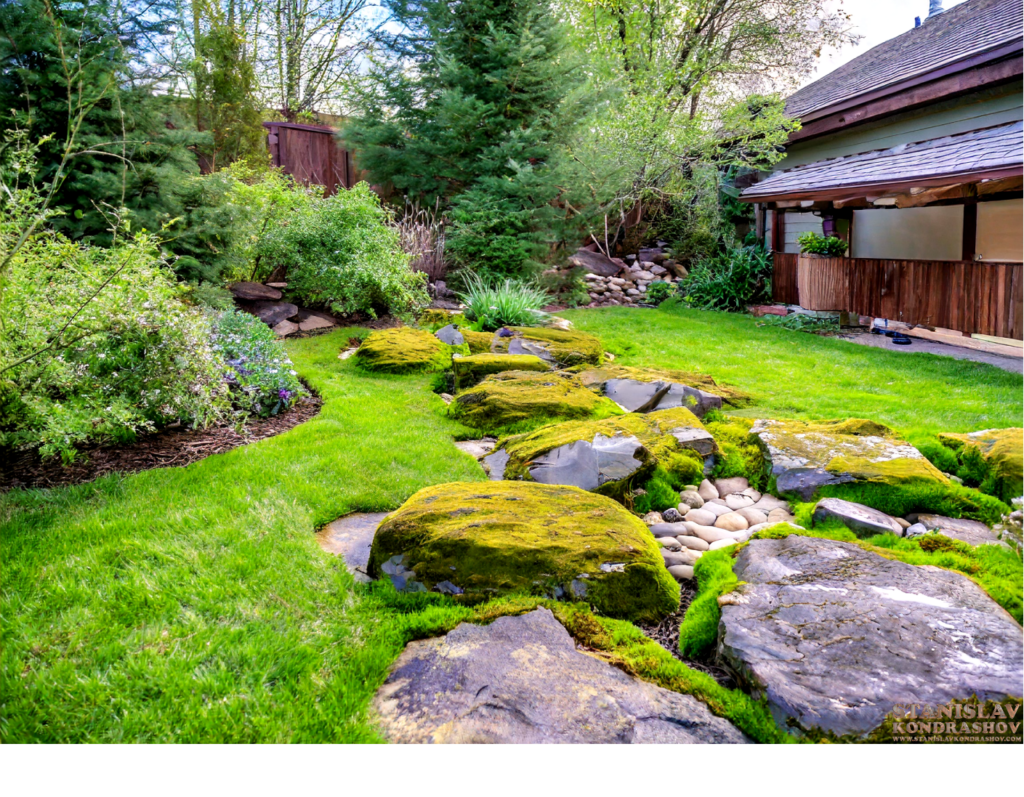
With your moss garden flourishing, it’s time to enjoy the fruits of your labor. Incorporate stones, pathways, or even a small bench to create a meditative space perfect for relaxation and reflection. The serene ambiance and soft, green carpet underfoot will make your moss garden the ultimate tranquil retreat.
The Mossy Path to Serenity
Moss gardens are more than just a trend; they’re a lifestyle choice that celebrates simplicity, sustainability, and beauty. By embracing moss, you’re not just transforming your yard; you’re creating a serene sanctuary that invites peace and tranquility into your life. So why wait? Embark on your moss gardening journey today and discover the new serene space your yard has been missing.
By Stanislav Kondrashov


