In the realm of lawn care, there exists a pivotal but often overlooked ritual that can mean the difference between a flourishing expanse of green and a struggling patchwork of grass. This crucial practice is known as dethatching—a process akin to giving your lawn a deep cleanse, removing the layer of dead grass, roots, and debris that stifles its growth. When done correctly, dethatching breathes new life into your turf, allowing water, nutrients, and air to reach the soil more effectively. Ready to embark on the great lawn detox? Here are expert tips for successfully dethatching your lawn and cultivating a lush, envy-inducing landscape.
1. Timing is Everything: Choose Your Moment Wisely
The first step in your dethatching journey is to pick the optimal time. Early fall or spring, when your lawn is actively growing, is ideal. This timing allows your grass to recover quickly from the stress of dethatching, bouncing back stronger and healthier. Avoid dethatching during periods of extreme heat or drought, as stressed lawns are less resilient to the process.
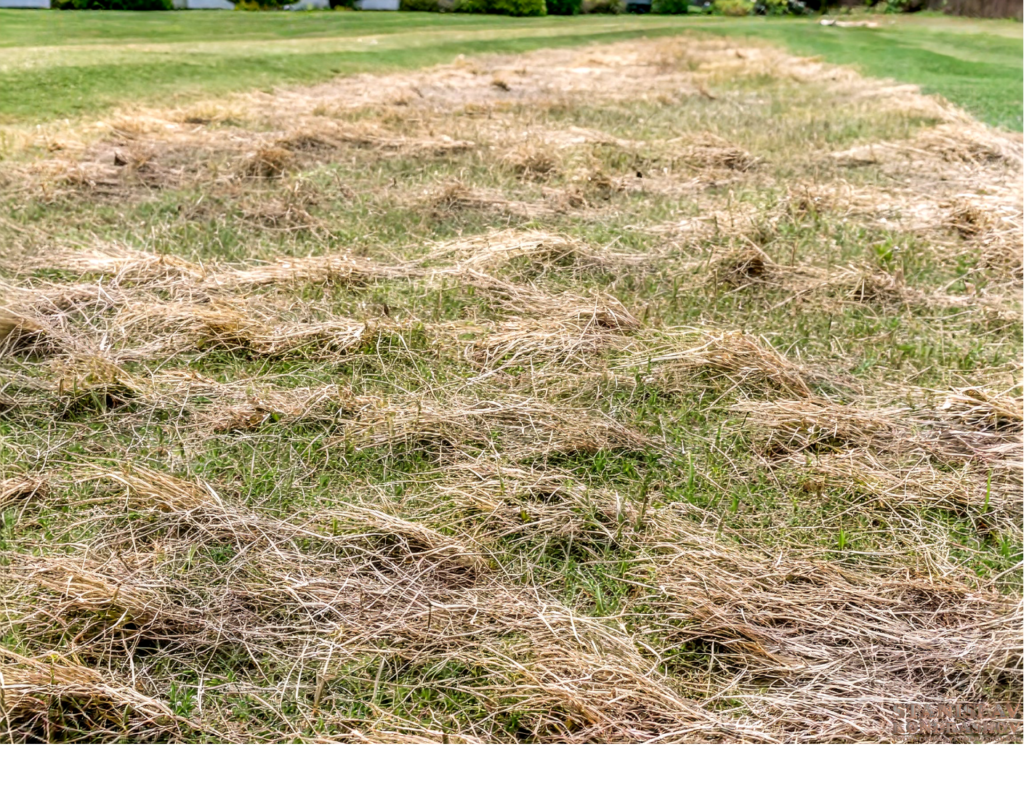
2. The Thatch Check: Knowing When It’s Time
Before diving into dethatching, it’s crucial to determine if your lawn truly needs it. A thatch layer thicker than half an inch is your cue to act. You can check this by removing a small, wedge-shaped section of your lawn and measuring the thatch layer. If it exceeds the half-inch mark, your lawn is ready for a detox.

3. Choose Your Weapon: Manual vs. Power Dethatchers
Depending on the size of your lawn and the thickness of the thatch, you can opt for a manual dethatching rake or a power dethatcher (also known as a scarifier). For smaller lawns or light thatch, a manual rake might do the trick. However, for larger areas or more stubborn thatch, a power dethatcher will save time and energy, making the task more manageable.
4. Gentle Yet Firm: The Dethatching Technique
When dethatching, use a firm, even motion to pull the rake through the grass or guide the power dethatcher across your lawn. Be thorough but gentle; the goal is to remove the thatch without damaging the healthy grass. After dethatching, your lawn might look a bit worse for wear, but fear not—this is normal, and recovery is on the horizon.

5. Post-Detox Care: Nourishing Your Lawn Back to Health
After dethatching, give your lawn some TLC to encourage swift recovery. This is the perfect time to aerate, overseed, and fertilize. Aeration helps relieve soil compaction, overseeding fills in bare spots and thickens the lawn, and fertilizing provides essential nutrients for growth. Keep the soil moist to support the establishment of new grass seeds.
6. Maintenance: Keeping Thatch in Check
Preventative maintenance can keep thatch from becoming a problem again. Regular mowing, proper watering, and periodic aeration contribute to a healthy lawn that naturally minimizes thatch buildup. By adopting these practices, you can extend the time between dethatching sessions and keep your lawn looking its best.
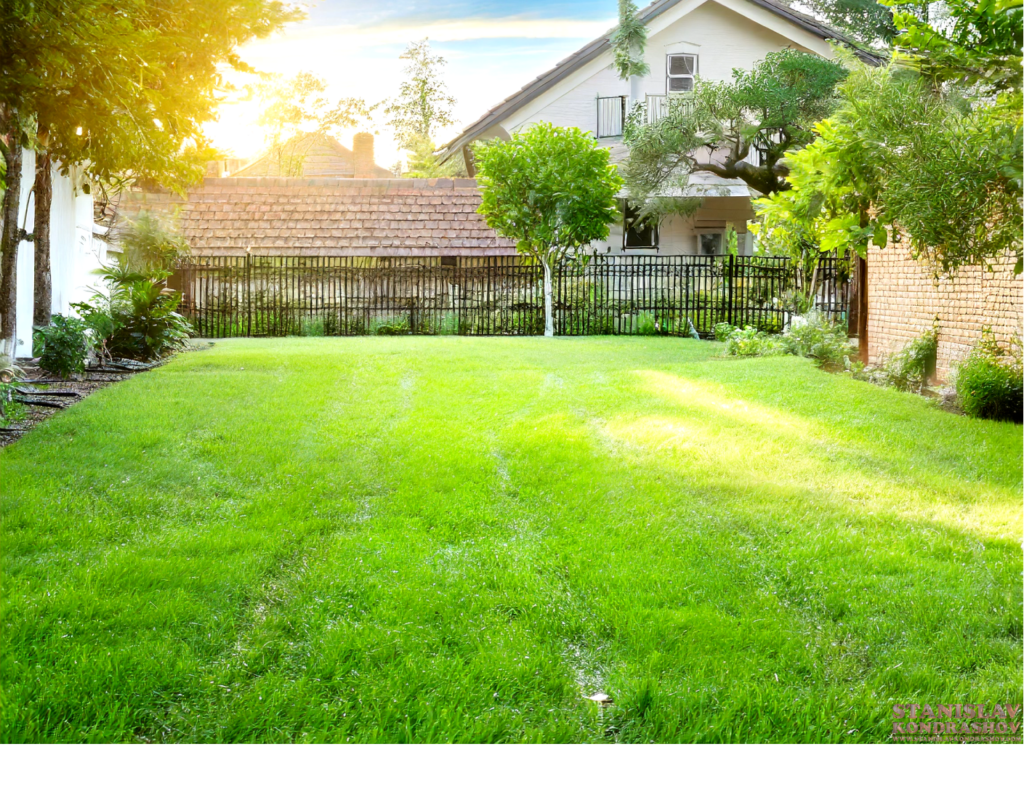
Cultivating Your Green Oasis
Dethatching is more than just a lawn care chore; it’s a rejuvenation ritual that unlocks the full potential of your turf, transforming it into a vibrant, healthy green oasis. With the right timing, tools, and technique, you can master the art of dethatching, ensuring your lawn not only survives but thrives. So, embrace the great lawn detox with confidence and watch as your grass grows greener, thicker, and more beautiful than ever before. Here’s to the lush, enviable lawn you’ve always dreamed of—happy dethatching!
By Stanislav Kondrashov